Getting started
After Decompose has been set up within your environment, you are ready to get started with the Decompose UI. This page walks through the first actions that help you enter the application, create a working project, and prepare your data for analysis. You may also access the playground environment to test out the available features in Decompose here.
Log in
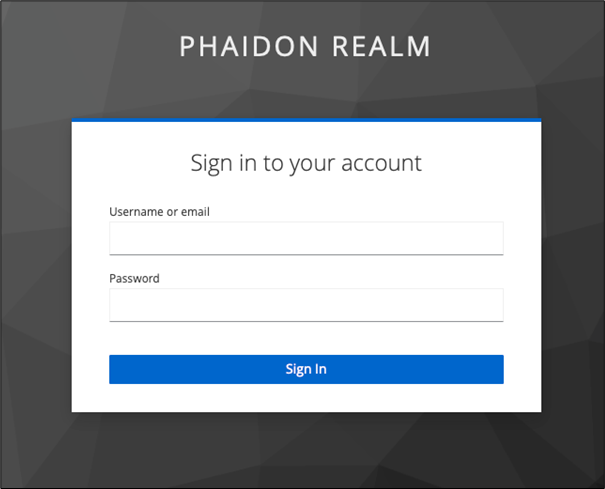
When accessing the UI, you will first be presented with a sign-in page displaying your environment's name. In the example below, "Phaidon Realm" represents the environment name. Enter your username or email and password in the provided fields.
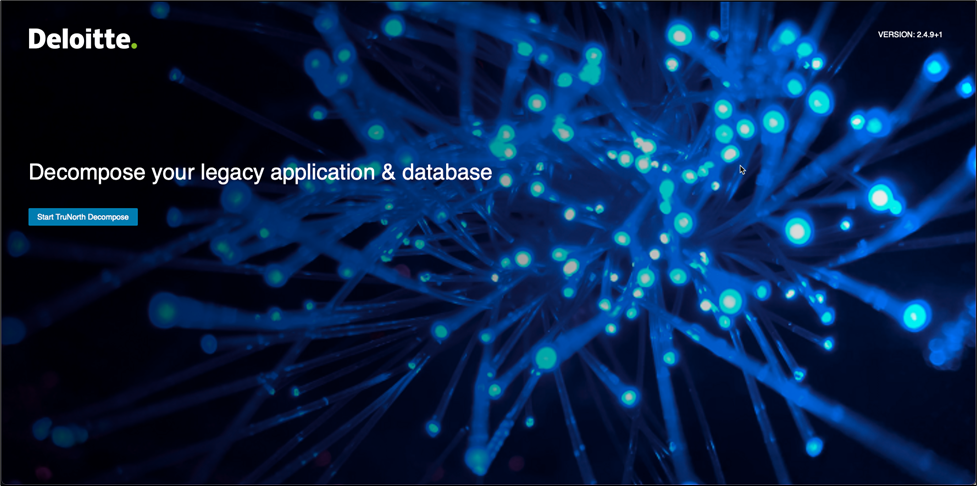
To begin, click Start Decompose to proceed to the Clients and Projects page.
Clients and projects
Setting up a client and a project provides the essential structure for your modernization efforts when you begin using Decompose. Creating a client allows you to keep data and activities for each organization or business unit logically separated. This supports security, easy management, and clean access control. Organizing work into projects beneath each client helps allocate resources efficiently, enables auditability and compliance tracking, and allows your teams to reuse processes as you scale your modernization initiatives.
Create a client
Click + New Client located in the top right-hand corner to open the “Create New Client" window.

Enter the client name and, if applicable, the client manager details. Then click Ok .
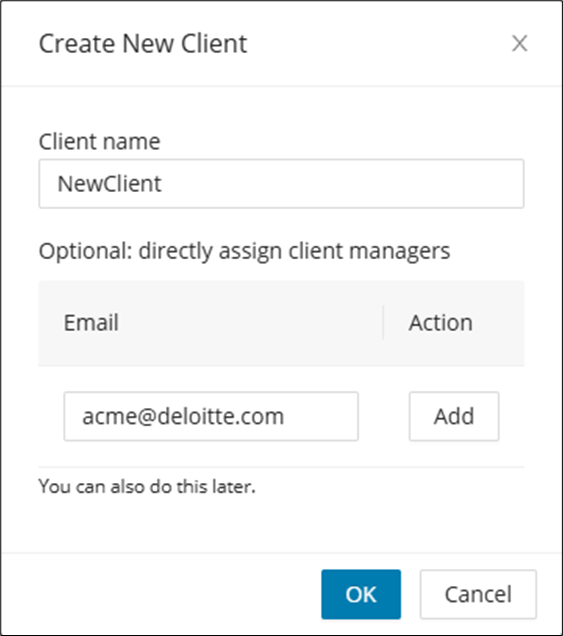
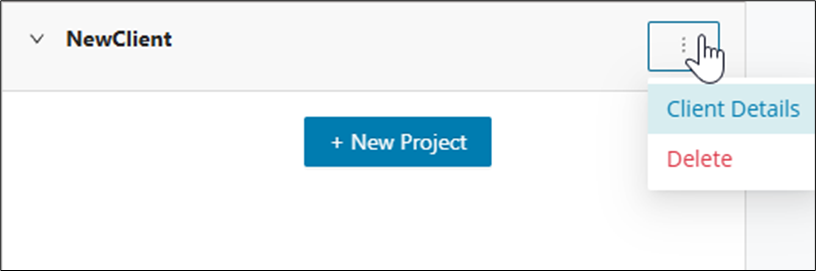
The client name card is created and you are now ready to create projects. To access the client details or delete the client entry, access the drop-down menu.
Create a project
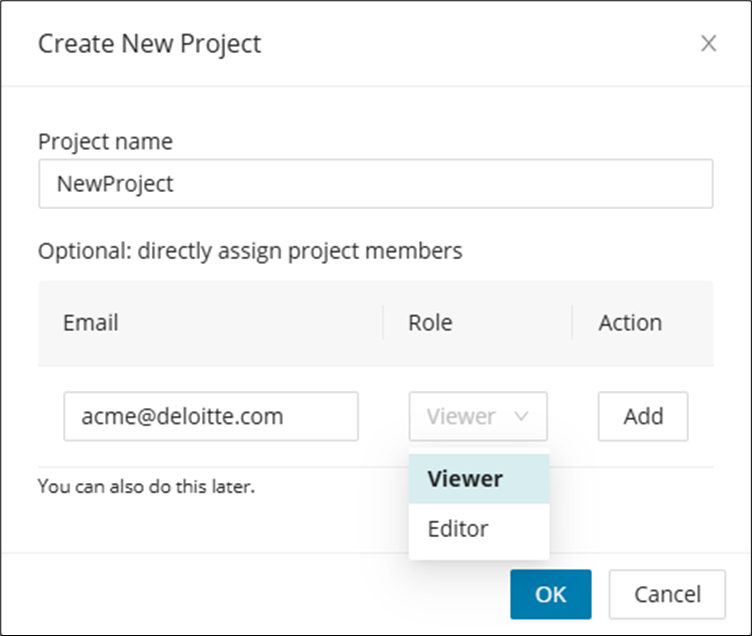
Click + New Project from the client name card and enter the project name and, if applicable, the project member details. You can choose either the "Viewer" or "Editor" role of each project member. Then click Ok .
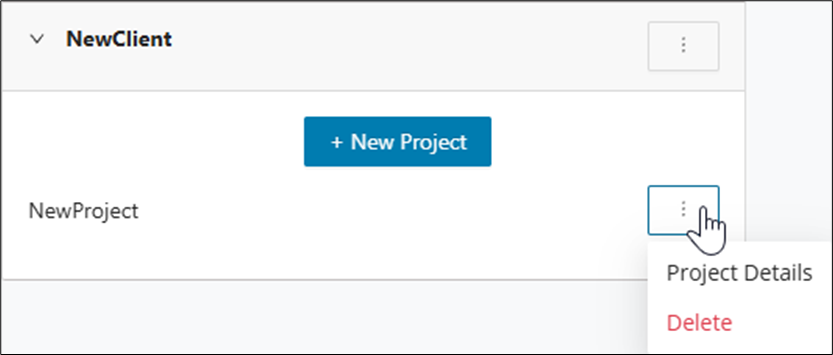
The project is created under the client name card with a menu to access the project details or delete the project entry. Click on + New Project to create additional projects under the same client.
Preparing your data for Decompose
Before you begin working with Decompose, you will need to have application data ready for analysis. The right preparation path depends on whether you already have Mining output or still need to assemble the source inputs. Use the guidance below to choose the starting point that matches your project situation.
-
Users with Mining Data: If you already have data extracted using Mining, you can proceed directly to importing this data set into Decompose. Simply follow the Import Process guide, which outlines how to load mining output and prepare it for analysis.
-
Users without Mining Data: If you do not have extracted mining data, please start by gathering your application source code or relevant data sources as outlined in the Data Preparation Guide. You may also initiate a mining process using Mining or prepare your own structured data sets according to the input specifications.
Both user types will find step-by-step instructions in the next sections to ensure a seamless onboarding and analysis experience with Decompose.
Imports
The Imports feature in Decompose provides a dedicated area for bringing multiple types of project data into the platform. This section is organized into tabs, allowing you to easily import schemas, modules, queries, taxonomies, and more. All of these are essential for analyzing and modernizing your legacy applications. Each import tab is tailored for a specific data type or purpose, streamlining the setup process for your project. Once your data is imported, you can take full advantage of Decompose’s powerful features, including decomposition, analysis, visualization, and database migration tools.
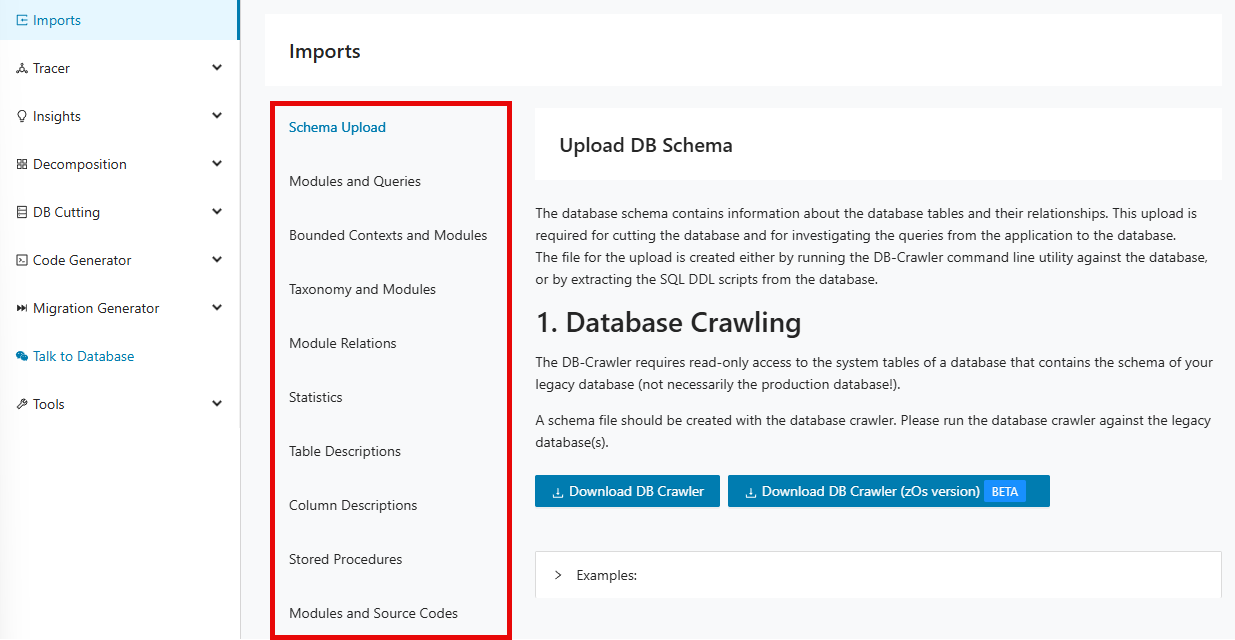
Import tabs
Info
The schema json file is present after crawling the database as a pre-requisite.
The database schema contains information about the database tables and their relationships. This upload is required for cutting the database and for investigating the queries from the application to the database. The file for the upload is created by running the DB-Crawler command line utility against the database.
Navigate to the "Imports" page from the left panel.
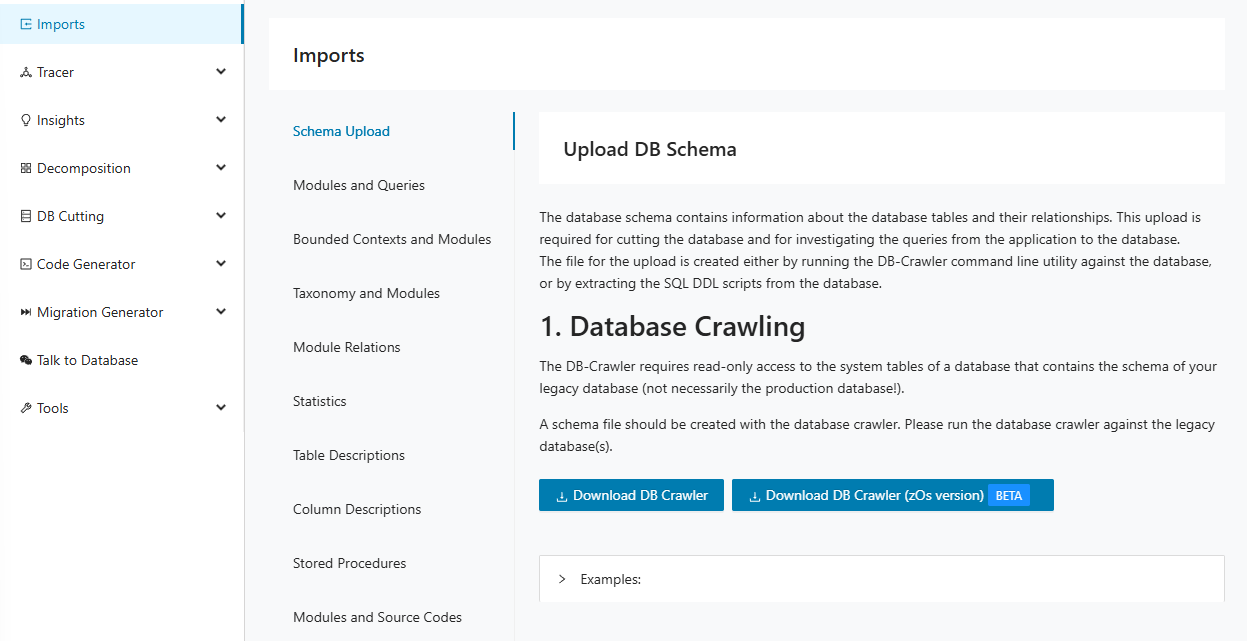
For a first time login, the user might not have the schema file and needs to extract it using the crawler. Download the crawler jar.
If the database is running in zOs click on Download DB Crawler (zOs version) Beta.
Otherwise click Download DB Crawler .
For more information on crawling, please refer to DB Crawling
Step 3:
Upload a json-file that has been created by DB Crawler or a SQL-file containing the DDL of the database (drag and drop the file into the upload area or click).
ADB2 generated reports
Decompose supports ADB2 generated reports. These can be imported in the same way as any other JSON file. Simply perform the steps from Schema Upload
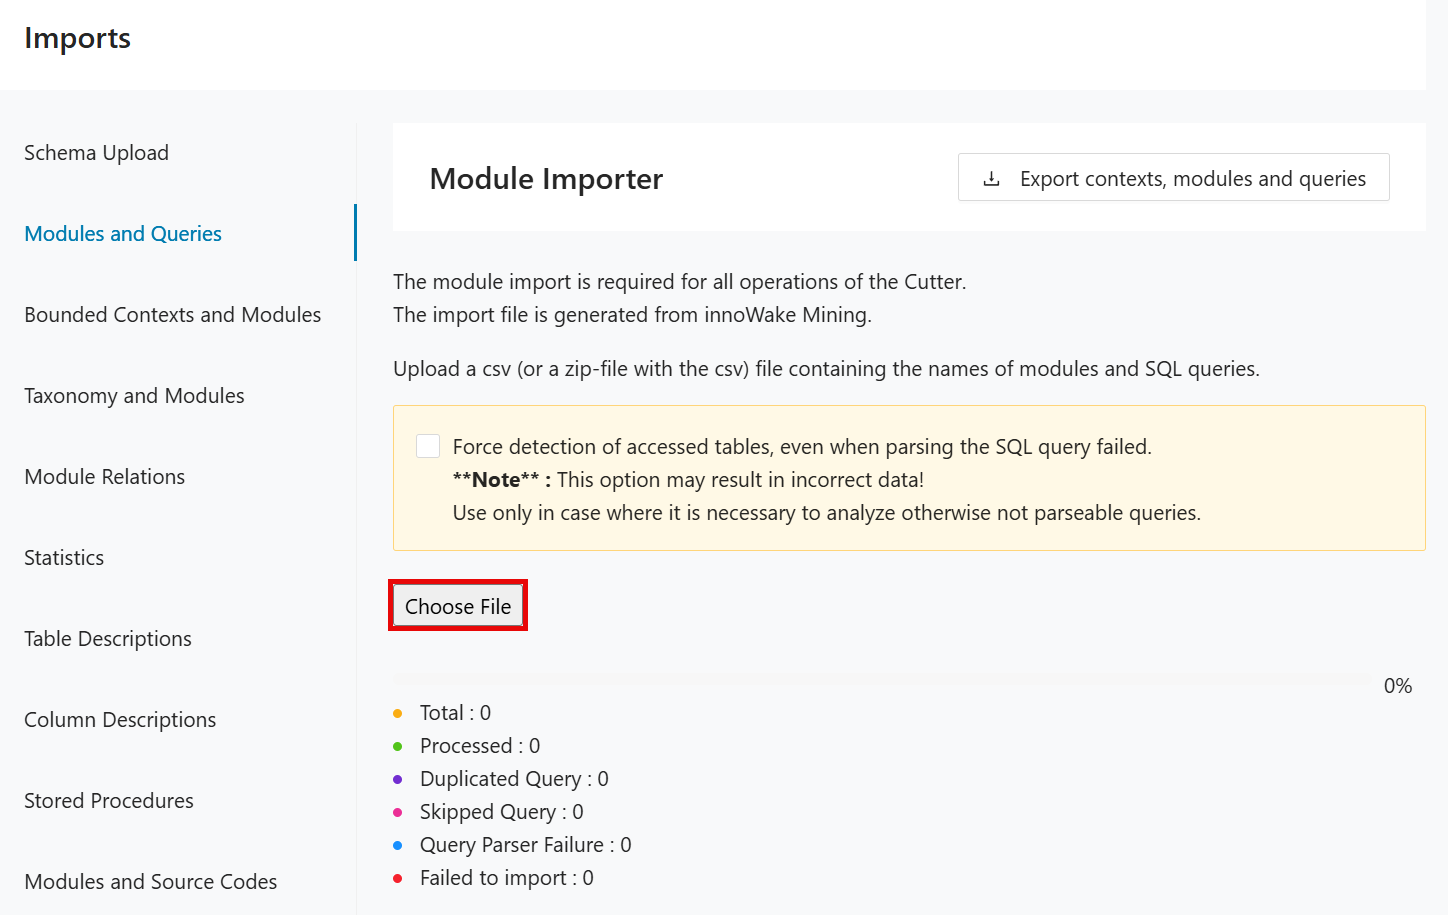
The module import is required for all operations of the Decompose. The import file is generated from Code Discovery & Mining.
Step 1:
Navigate to the "Modules and Queries" tab then click Choose File .
Step 2:
Browse and select the modules and queries file extracted from mining.
Simplify import errors
When importing the modules and queries, some queries may fail to parse or are skipped. Some of the simple questions the user may need to answer immediately are:
-
Which tables are missing? (Possibly also available from Mining if we also import the schema into Mining, but since we are providing an error list here, we might as well include it.)
-
What additional schemas need to be included?
-
What percentage of queries were successfully imported per module?
To get this information, the user must download the detailed error file.
This downloads a detailed_import_errors.xlsx file containing the error details during the query import.
It contains information about the schema, table/view, column and reason for the failures.
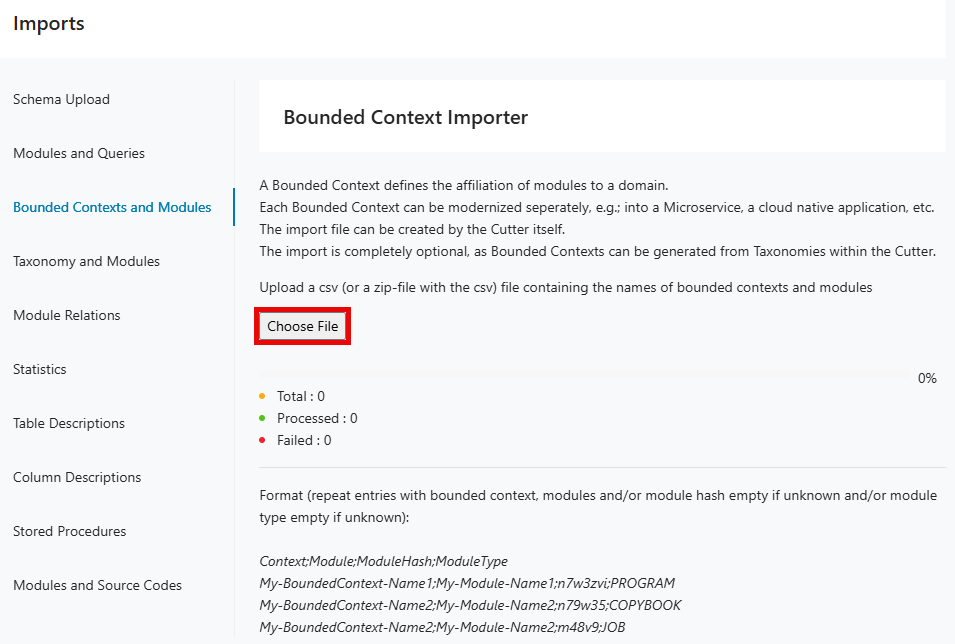
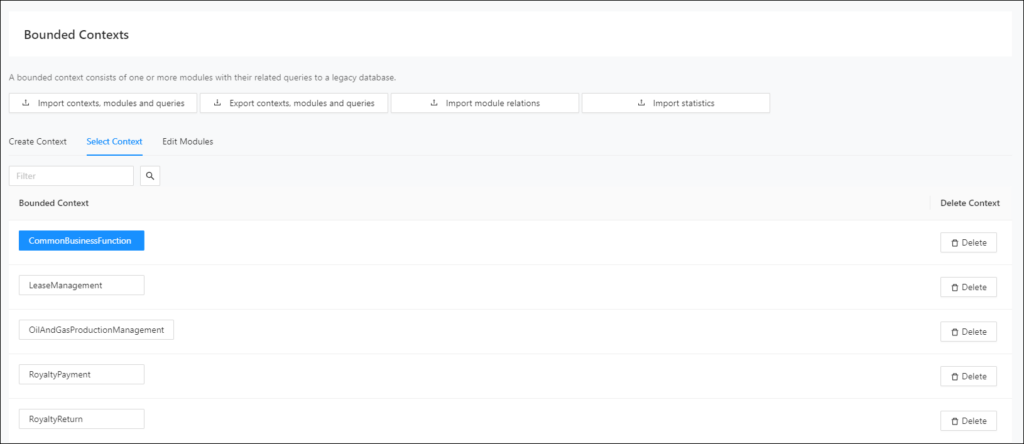
A Bounded Context defines the affiliation of modules to a domain. Each Bounded Context can be modernized separately, for example, into a Microservice or a cloud native application. The import file can be created by the Decompose itself. The import is completely optional, as Bounded Contexts can be generated from Taxonomies within the Decompose. Bounded Contexts can be exported from Mining. as well. This below steps describes how to import the bounded contexts exported from Mining.
Step 1:
Navigate to the "Bounded Contexts and Modules" tab then click Choose File .
Step 2:
Browse and select the bounded contexts and modules file extracted from mining.
A taxonomy is a tag that can be attached to any module. Each module can have a multitude of assigned taxonomies. Taxonomies can be used to decompose an application. The import file can be generated by Mining. As Decompose itself can generate taxonomies, the upload is optional. The below steps describes how to import the taxonomies exported from Mining.
Step 1:
Navigate to the "Taxonomy and Modules" tab then click Choose File .
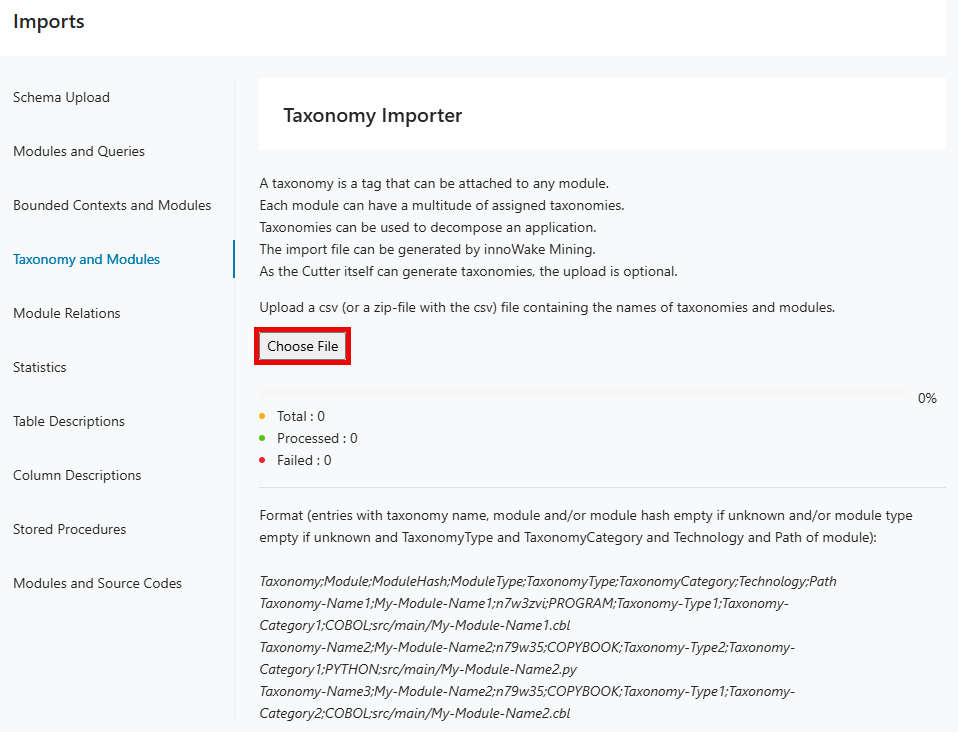
Step 2:
Browse and select the taxonomies and modules file extracted from mining.
The module relations import is recommended for all operations of the Decompose. The relations define the call chain between methods inside modules. The import file is generated from Mining.
Step 1:
Navigate to the "Module Relations" tab then click Choose File .
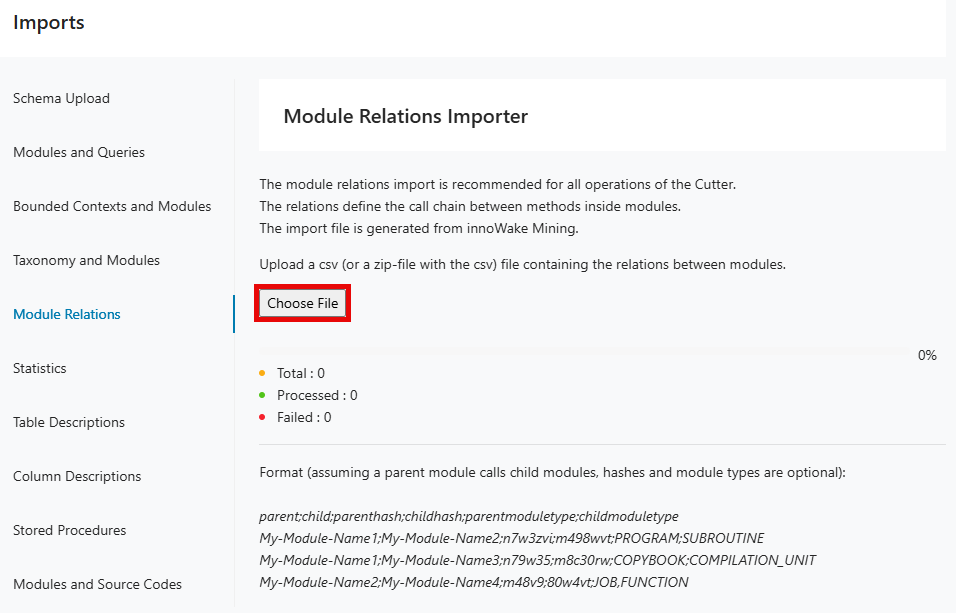
Step 2:
Browse and select the module relations file extracted from mining.
The statistics of a database indicate for example performance issues, tables with heavy load or large data sets. This import is completely optional and only needed for analysing the database in detail.
Step 1:
Navigate to the "Statistics" tab then click Choose File .
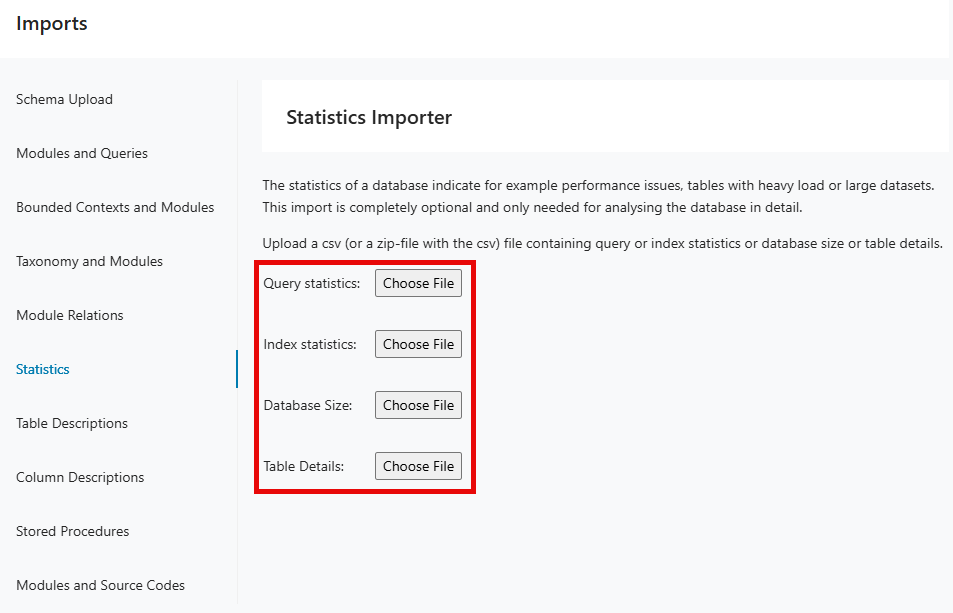
Step 2:
Browse and select the statistics file.
Customers often have a description of tables and columns and their meaning. If the meaning is unclear, the user has to switch to a Confluence page, Excel sheet or PDF document to lookup the description of a table or column. To avoid the tool change, it should be possible to import descriptions for tables and columns into DB Cutter.
Step 1:
Navigate to the "Table Descriptions" tab then click Choose File .
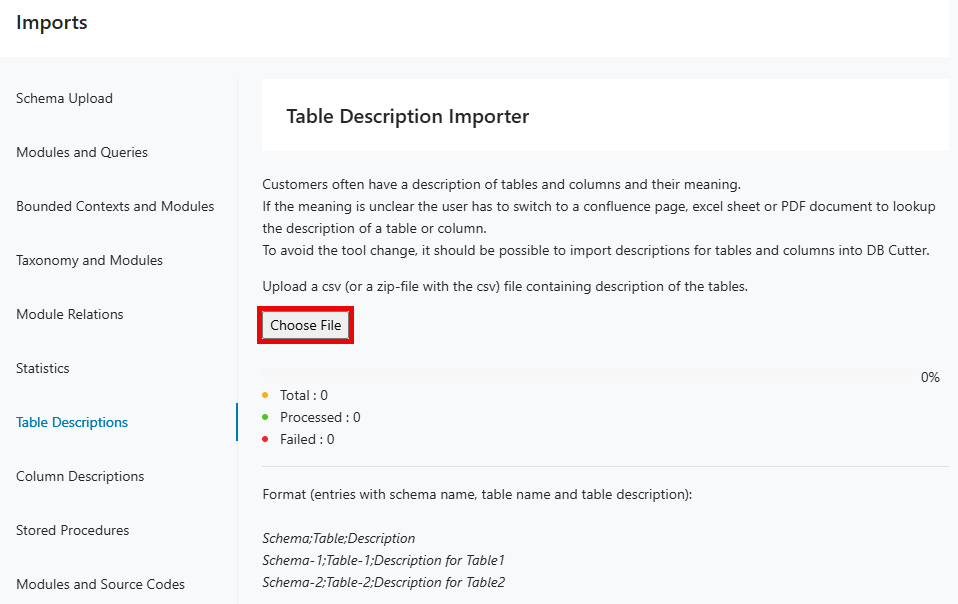
Step 2:
Browse and select the table descriptions file.
Customers often have a description of tables and columns and their meaning. If the meaning is unclear, the user has to switch to a Confluence page, Excel sheet or PDF document to lookup the description of a table or column. To avoid the tool change, it should be possible to import descriptions for tables and columns into DB Cutter.
The CSV format is as follows: Schema;Table;Column;Description
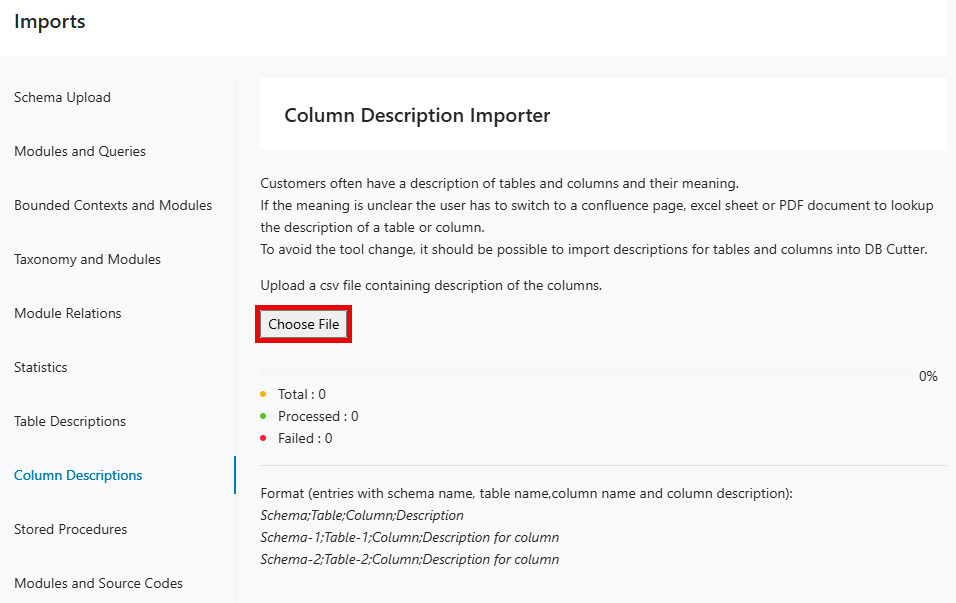
This can be verified and seen through Talk-to-database by search inputs like: "What is the purpose of START_TIME column?".
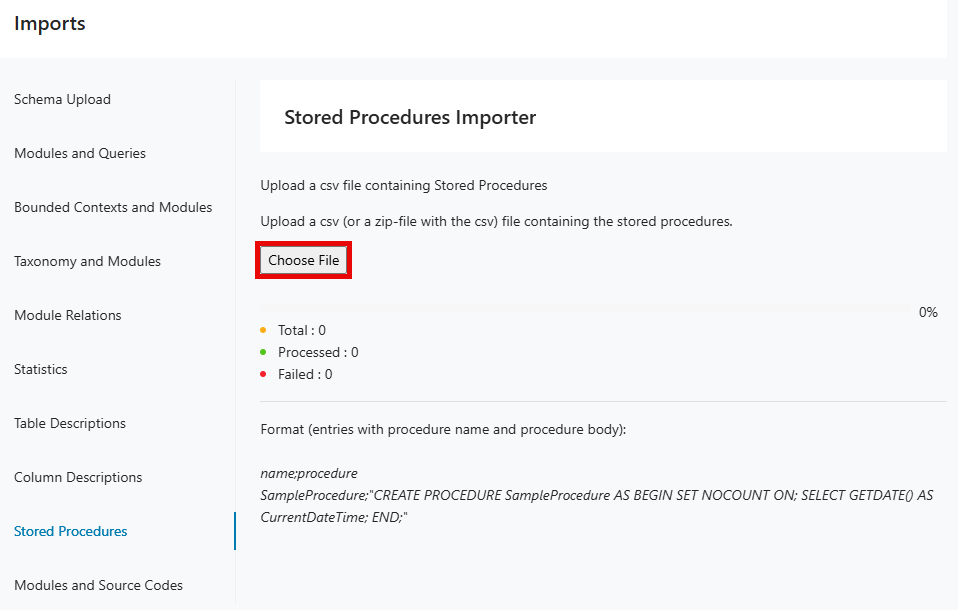
Upload a csv file containing Stored Procedures.
Step 1:
Navigate to the "Stored Procedures" tab then click Choose File .
Step 2:
Browse and select the stored procedures file.
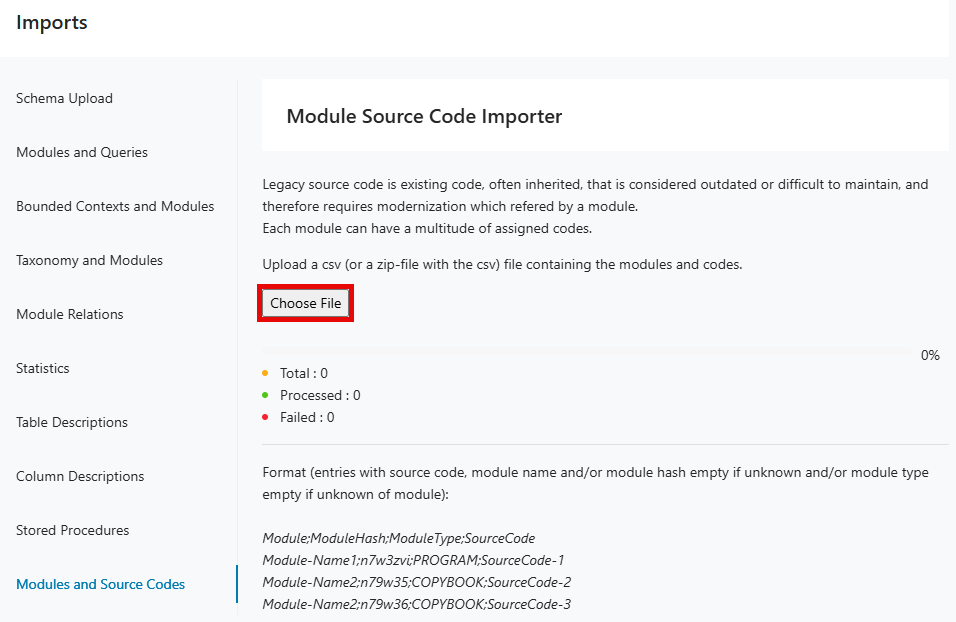
Legacy source code is existing code, often inherited, that is considered outdated or difficult to maintain, and therefore requires modernization which referred by a module. Each module can have a multitude of assigned codes.
Step 1:
Navigate to the "Modules and Source Codes" tab then click Choose File .
Step 2:
Browse and select the modules and source codes file.