Mining web UI
This chapter introduces users to the Mining web UI (web user interface). It highlights the main entry points for signing in, navigating projects, and accessing administration features. Use the sections below to orient yourself before working in the individual feature pages.
Accessing the web UI
To access the interface, open a web browser and enter the following URL location: http://<your server url>:<server port>/, for example, http://localhost:8080. Use the host and port of your Mining deployment so the browser opens the correct environment. After you sign in, the top navigation gives you access to the main reporting and analysis areas.
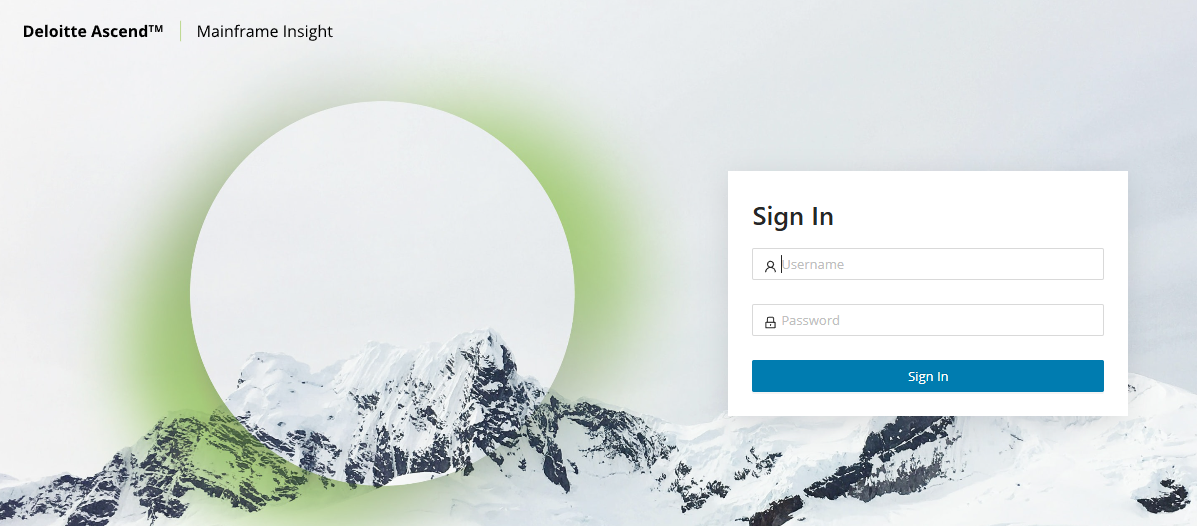
Enter your username and password, then click Log In .
Application information
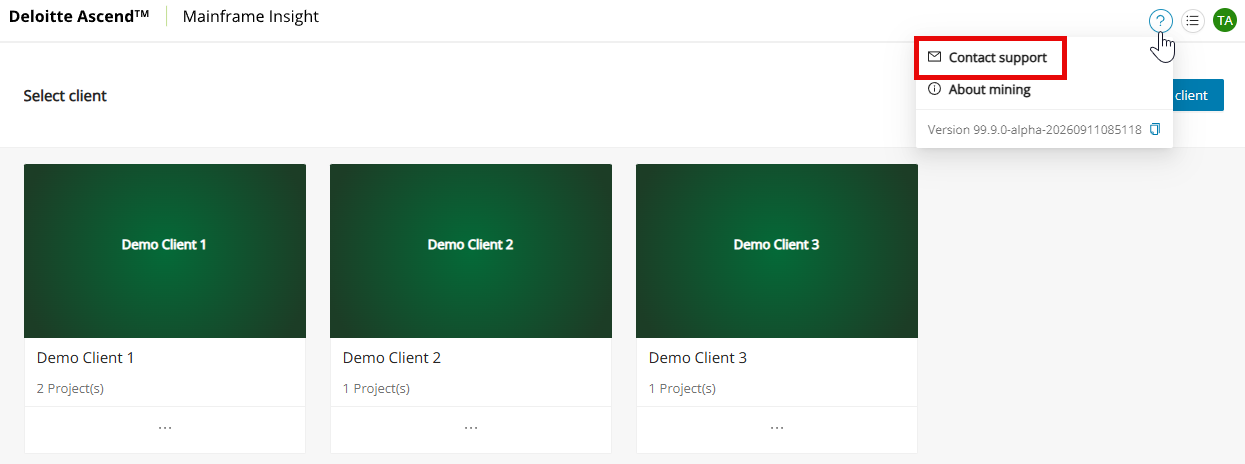
After logging into the Mining web UI, the help menu in the top menu bar is designated by a question mark icon. It provides contact information for Mining support, Mining version, and copyright details, third-party licenses, and a cookie notice. Clicking Contact Support will redirect you to emailing amiproductsupport@deloitte.com.
Client and project management
The Client and Project Management area is the administrative workspace for organizing clients, projects, and membership. It centralizes the tasks required to provision access and maintain project structures in the Mining UI. The following sections describe the available client- and project-level actions.
Use this area before the first Discovery run whenever the target client or project does not exist yet. The recommended provisioning order is create the client, create the project, assign access, and then return to Eclipse to link the local project to the Mining project.
Info
This view is only available to users with the role "Admin".
The Client and Project Management view allows administrators to manage clients in the Mining UI. This is described in detail in the following sections.
Managing clients
To access the view, click the user icon on the top right and select Client and Project Management from the drop-down menu. The following example shows an example of the page as seen by administrators. It displays the available clients.
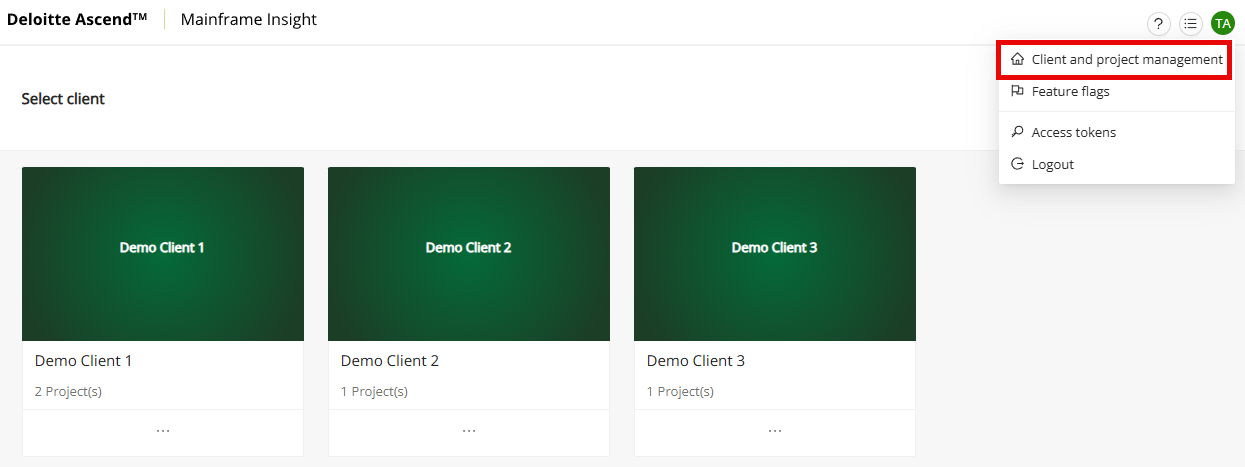
In the Client and Project Management view, administrators manage clients, projects, and membership (client admins and project members) in one place.
Create client
-
Click + Add Client .
-
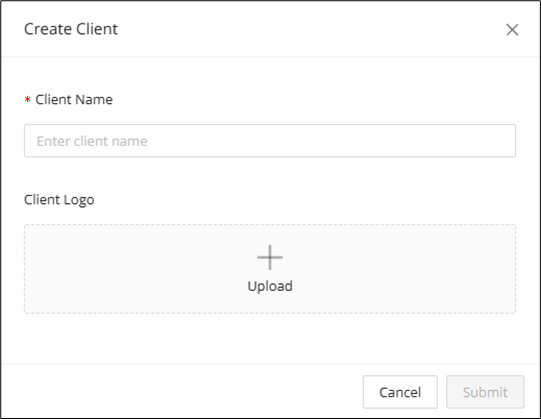
In the Create Client window, enter the client name.
-
Upload the client logo (optional).
-
Click Submit to complete the creation.
To display the actions available for this client, click the corresponding ... :
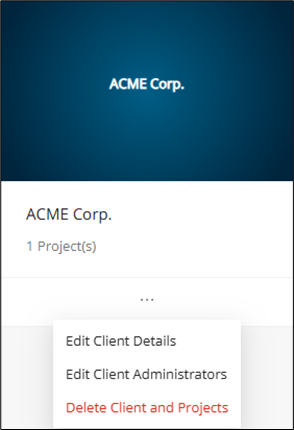
The following actions are available:
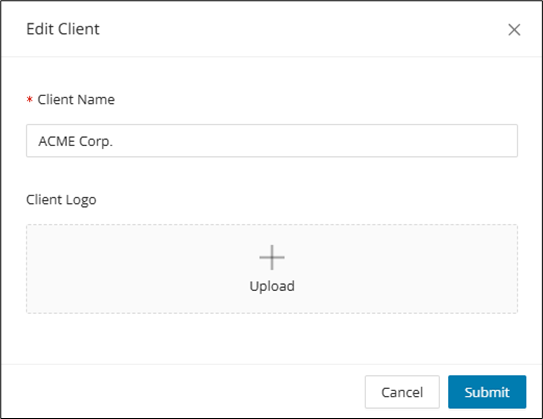
Edit client details
Select this action to display the client that you created earlier and edit the details that you entered there.
Edit client administrators
Use this action to create or remove client administrators. To create a new client administrator
-
In the Add Member field, enter the e-mail address of the new client.
-
Click Add .
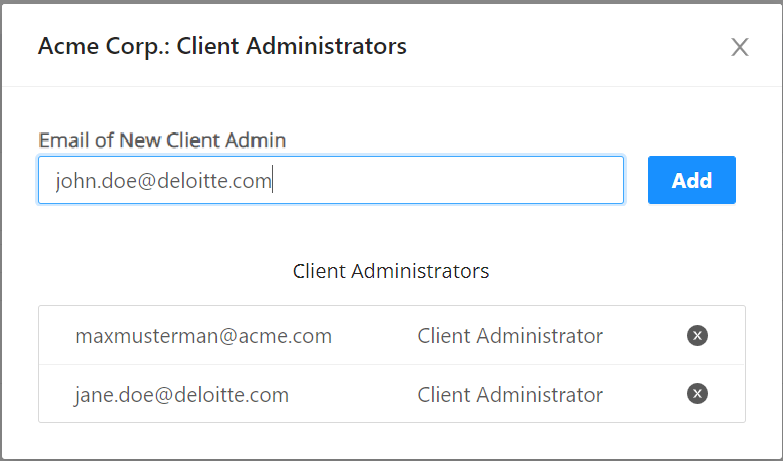
To remove a client administrator, click in the corresponding row.
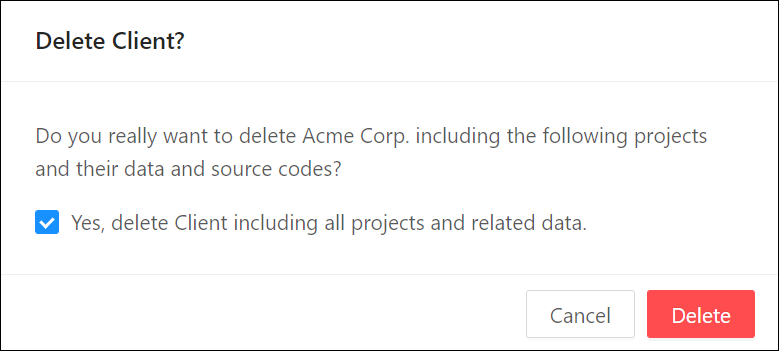
Delete client and projects
To delete the client, check  Yes, delete Client including all projects and related data and click Delete .
Warning
Deletion of a client triggers a cascading delete on any artifacts belonging to the client. This includes projects, modules, taxonomies, sources, etc.
Managing projects
Info
Users with the role "Admin" can see all projects, users with the role "Client Admins" can see specific clients, and users with the roles "Manager", "Editor", or "Viewer" are restricted to assigned projects. Users can enter projects via the corresponding client page; however, to do so, they must have the required role-based user access. For more details on who can view or perform which actions, refer to the sections Identity and Access Management (IAM) and the Access Matrix.
The Client and Project Management view allows administrators or client administrators to manage projects associated with a client in the Mining UI. In this view, admins or client admins can:
- List all available projects
- Add a new project
- Update a project's general information
- Create new project members and assign project roles
- Delete a project
After the project exists, return to Code Discovery and link the Eclipse project through Properties > mining. Discover Code cannot target the correct Mining project until this linkage is in place.
The actions are described in the following:
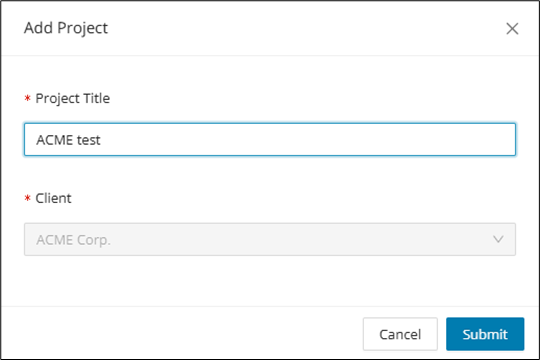
Add project
-
Enter a project title.
-
Select the client from the drop-down list.
-
Click Submit to complete the action.
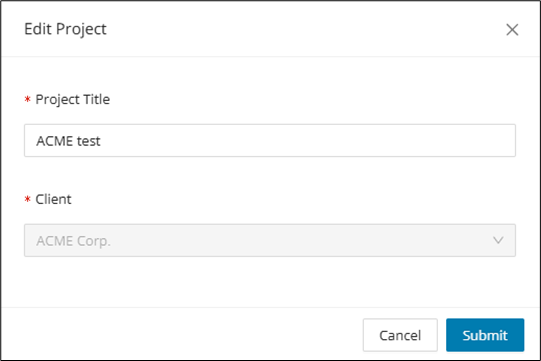
Edit project details
Select this action to display the Add Project window and edit the details that you entered there, for example, the project's title.
Edit members
Use this action to create new project members or to remove them. To do so,
-
In the Add Member field, enter the e-mail address of the new member
-
Select Viewer, Editor, or Manager as the project role.
-
Click Add to complete the action.
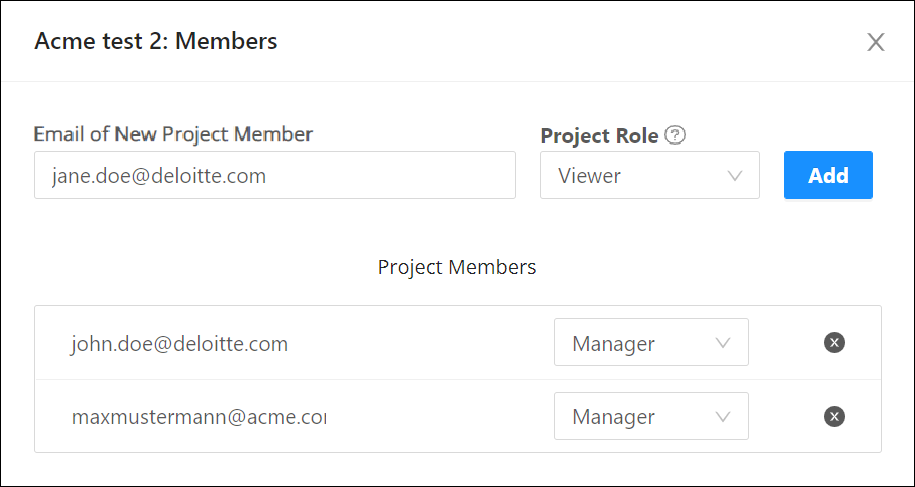
To remove a member, click in the corresponding row.
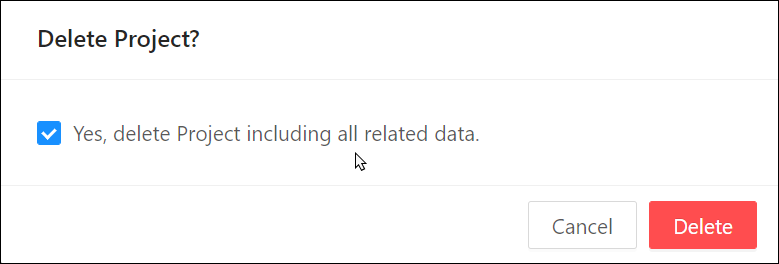
Delete project
To delete a project, check the box "Yes, delete Project including all related data," and click Delete .
Warning
Deletion of a project triggers a cascading delete on any artifacts belonging to the project. This includes projects, modules, taxonomies, sources, etc.
Additional web UI features
To learn more about additional Mining web UI features and functions, continue with the linked page. It covers supporting capabilities that complement the main reporting and analysis workflows. Use it when you want details on job handling, saved searches, error display, and related UI functions.
Click here.